1 (edited by Safe-Keeper 2009-03-03 20:17:45)

Topic: After-Action Report: Escape from Hoth (56k = frustration)

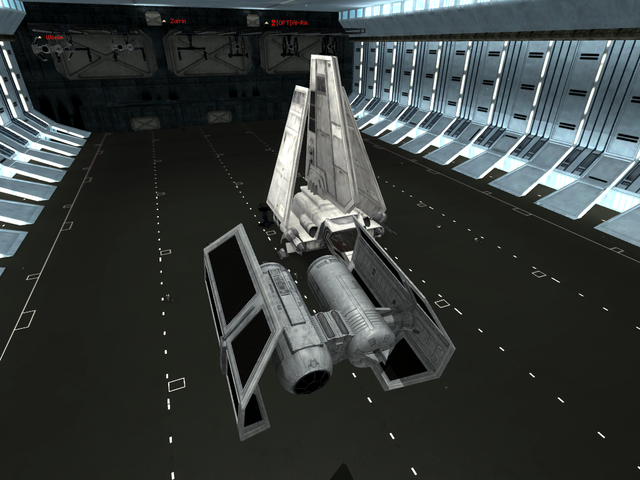
Since these AARs contain lots of pictures, I'm making a new thread for this one rather than adding it to the 1.4 AAR/Ssreenshots thread.

After-Action Report: Escape From Hoth
Four transports against a Star Destroyer? The Alliance takes on an Imperator class in the March 1st Community Game (sustainable Internet software not tested on animals).

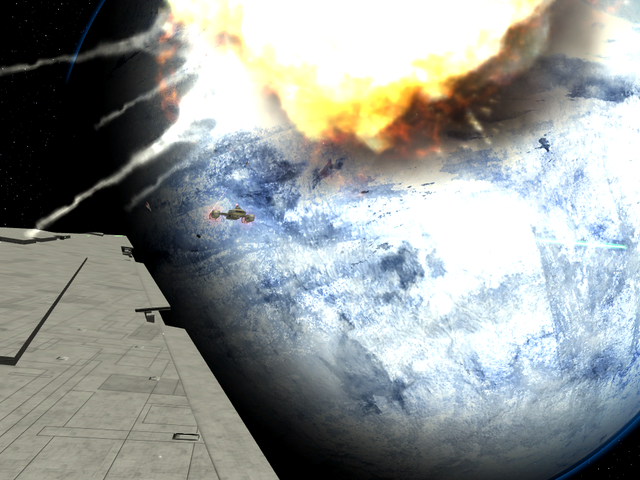
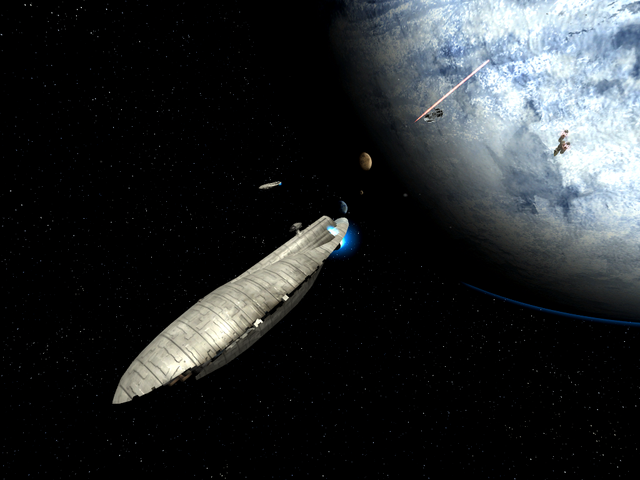
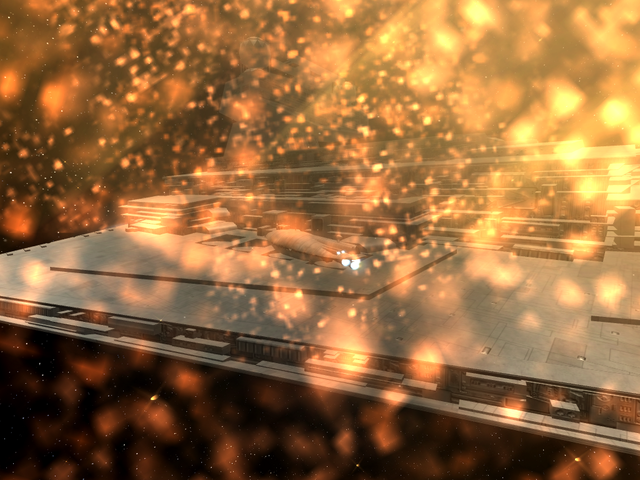
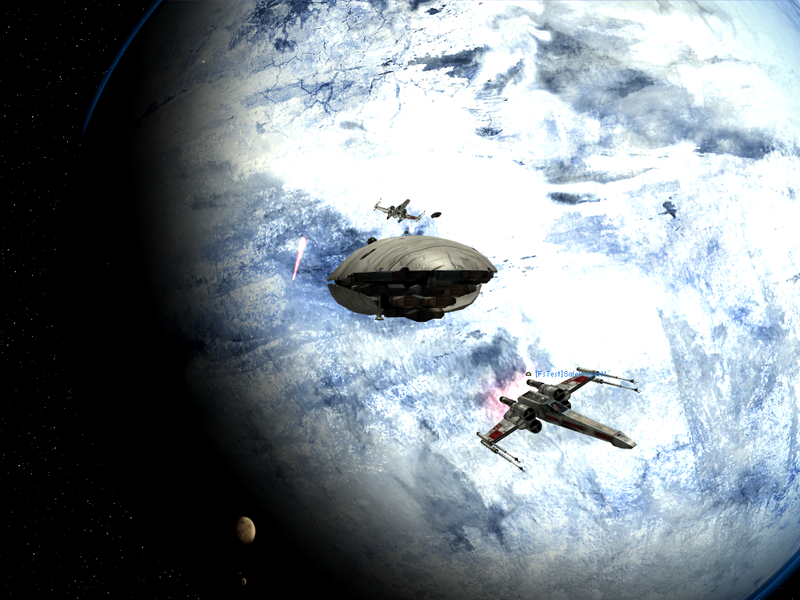
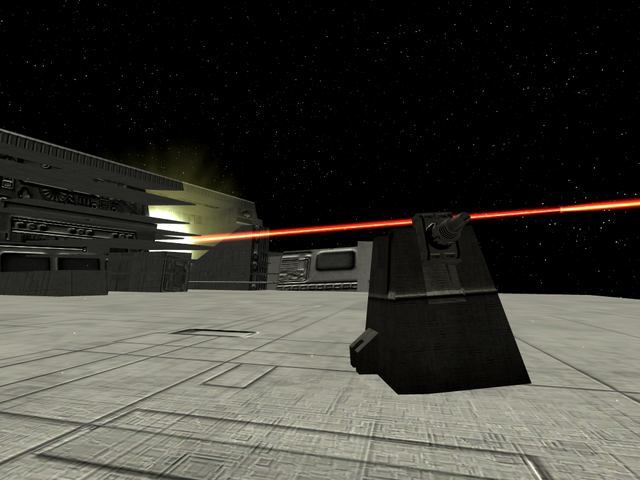
The Battle of Hoth is about to begin in the snowy wastes below, and 'the first catch of the day' makes for the blockading Star Destroyer Tyrant as the ion cannon's bombardment is initiated*. With the mighty ship crippled, the first transport slips away!
http://i147.photobucket.com/albums/r292/safe-keeper/Escort2.png
http://i147.photobucket.com/albums/r292/safe-keeper/AAR_Escape%20From%20Hoth/AAR1.png

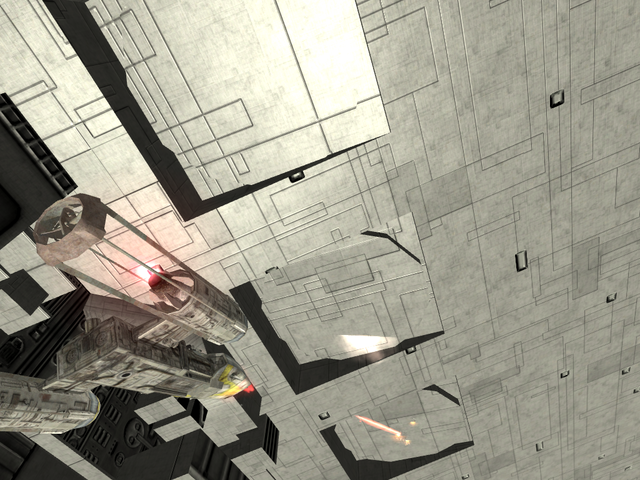
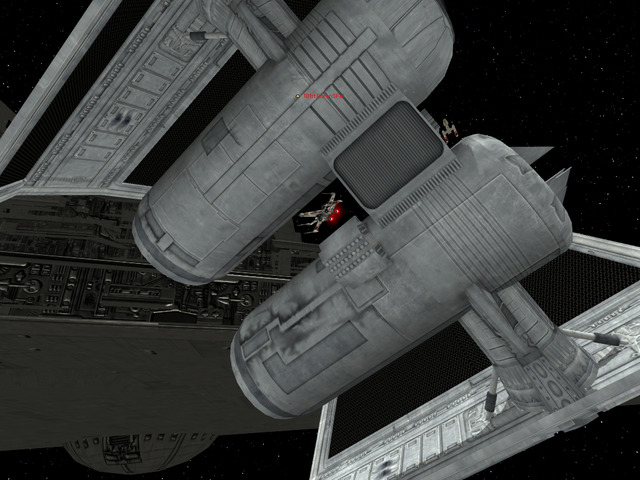
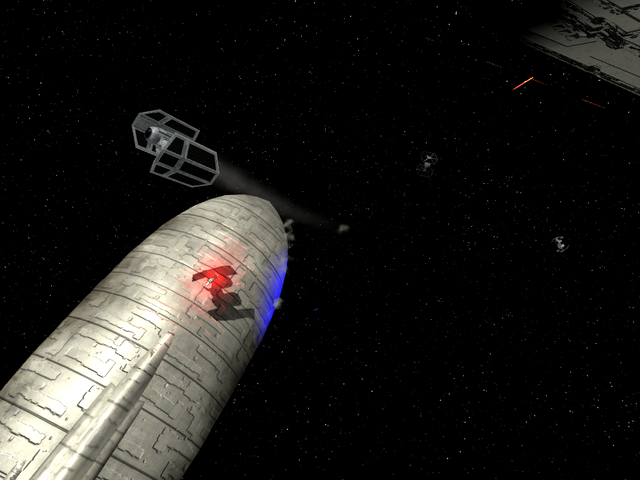
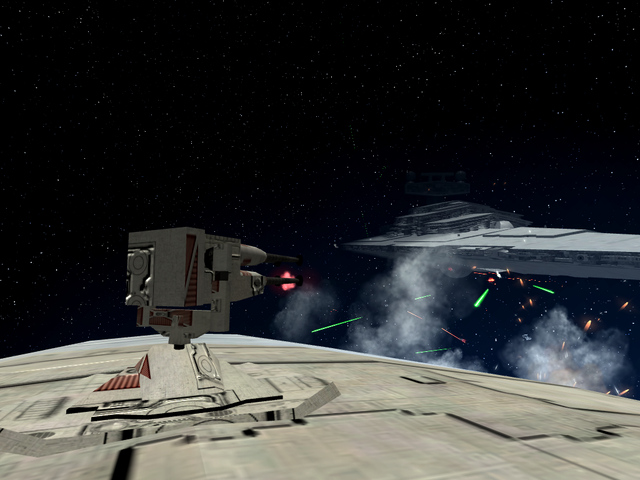
Even with heavy planetary artillery, however, one cannot simply knock out an Imperial Star Destroyer. The ship's emergency power supply comes online and allows her to remain in orbit as well as power her weapons and launch her complement of battle-ready TIE Fighters and Bombers.
http://i147.photobucket.com/albums/r292/safe-keeper/AAR_Escape%20From%20Hoth/AAR2.png
http://i147.photobucket.com/albums/r292/safe-keeper/AAR_Escape%20From%20Hoth/AAR3.png
http://i147.photobucket.com/albums/r292/safe-keeper/AAR_Escape%20From%20Hoth/AAR4.png

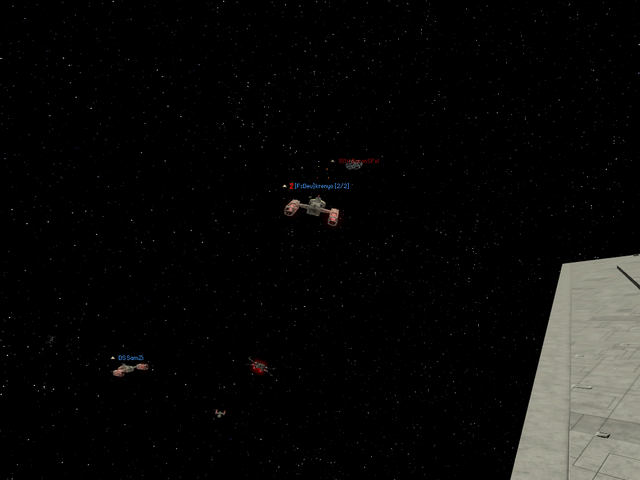
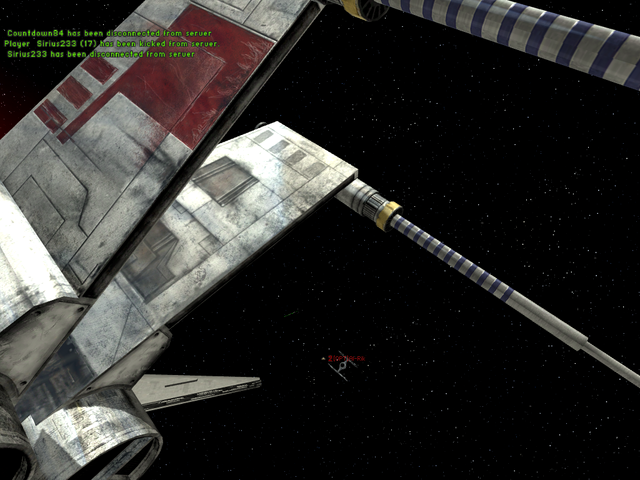
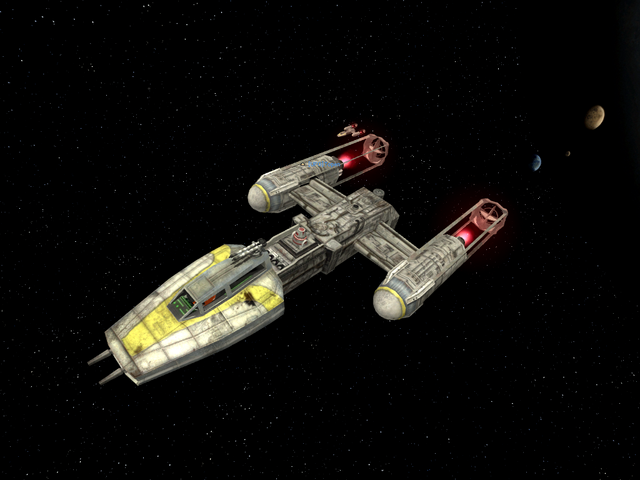
These fighters will be sorely needed. The Tyrant is a formidable warship, but as most of the other cruisers of her age, she is designed to combat other star ships, and the Alliance relies on small, fast and well-armed snubfighters. The loss of the Death Star sent tremors through the Imperator crews' sense of invincibility, and even now, a flight group of Y-Wings fast approach on a surgical strike mission, their proton torpedoes destined for the ship's heavy gun batteries. The Tyrant's ability to stop the transports is in grave danger, and the Imperials know it.
http://i147.photobucket.com/albums/r292/safe-keeper/AAR_Escape%20From%20Hoth/AAR5.png

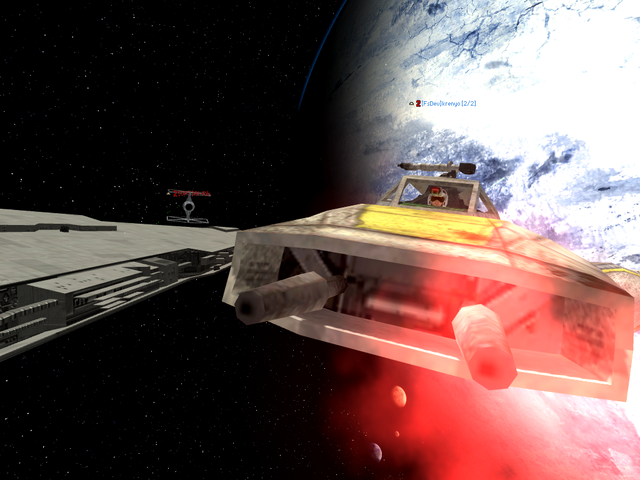
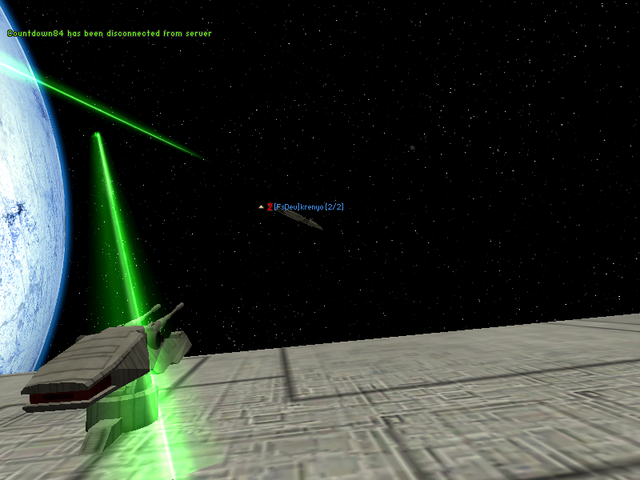
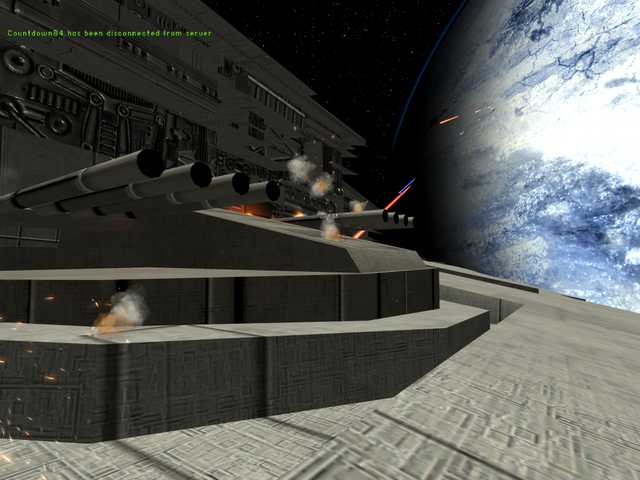
Gold Group reaches its target and begins its first attack run, and soon the Tyrant's heavy batteries are no more. With her firepower significantly reduced, she now relies on her TIE Bombers to take out the fleeing transports.
http://i147.photobucket.com/albums/r292/safe-keeper/AAR_Escape%20From%20Hoth/AAR6.png
http://i147.photobucket.com/albums/r292/safe-keeper/AAR_Escape%20From%20Hoth/AAR7.png
http://i147.photobucket.com/albums/r292/safe-keeper/AAR_Escape%20From%20Hoth/AAR8.png

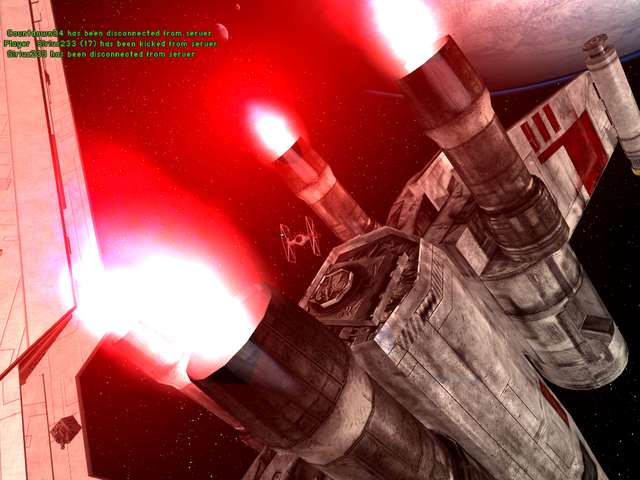
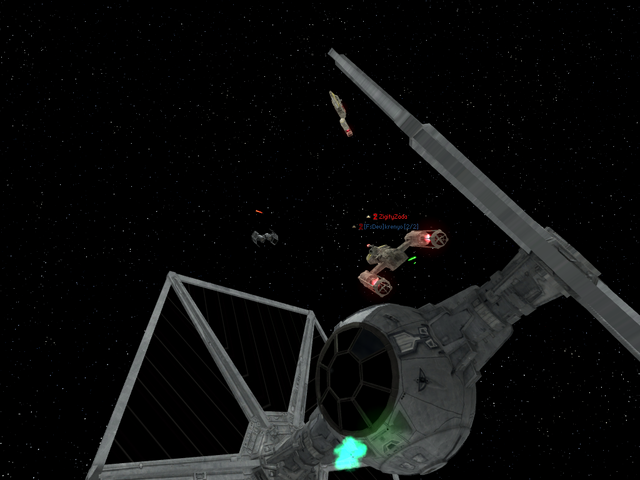
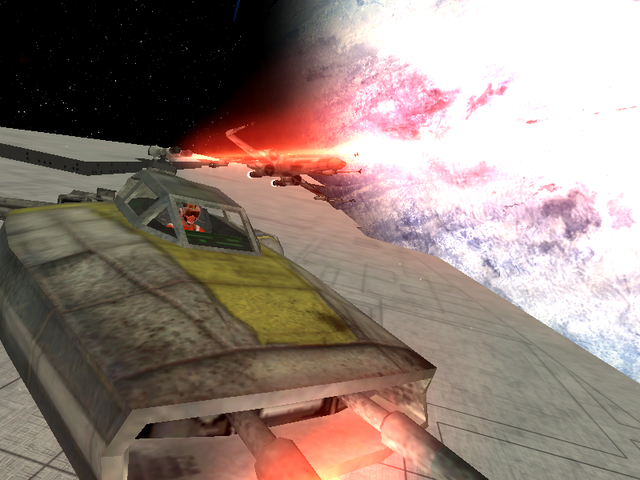
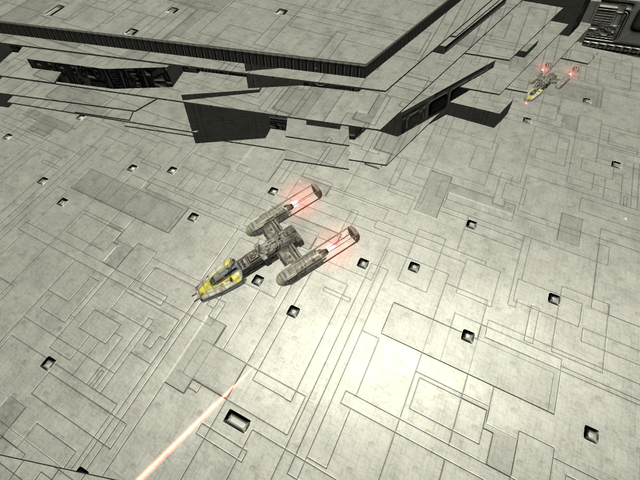
Having taken down the guns, the Y-Wings, joined by X-Wing fighters, turn their attention on the Imperial TIEs, and a furball begins.
http://i147.photobucket.com/albums/r292/safe-keeper/AAR_Escape%20From%20Hoth/AAR00.png
http://i147.photobucket.com/albums/r292/safe-keeper/AAR_Escape%20From%20Hoth/AAR10.png
http://i147.photobucket.com/albums/r292/safe-keeper/AAR_Escape%20From%20Hoth/AAR11.png
http://i147.photobucket.com/albums/r292/safe-keeper/AAR_Escape%20From%20Hoth/AAR12.png
http://i147.photobucket.com/albums/r292/safe-keeper/AAR_Escape%20From%20Hoth/AAR13.png
http://i147.photobucket.com/albums/r292/safe-keeper/AAR_Escape%20From%20Hoth/AAR9.png
http://i147.photobucket.com/albums/r292/safe-keeper/AAR_Escape%20From%20Hoth/AAR14.png
http://i147.photobucket.com/albums/r292/safe-keeper/AAR_Escape%20From%20Hoth/AAR15.png
http://i147.photobucket.com/albums/r292/safe-keeper/AAR_Escape%20From%20Hoth/AAR16.png

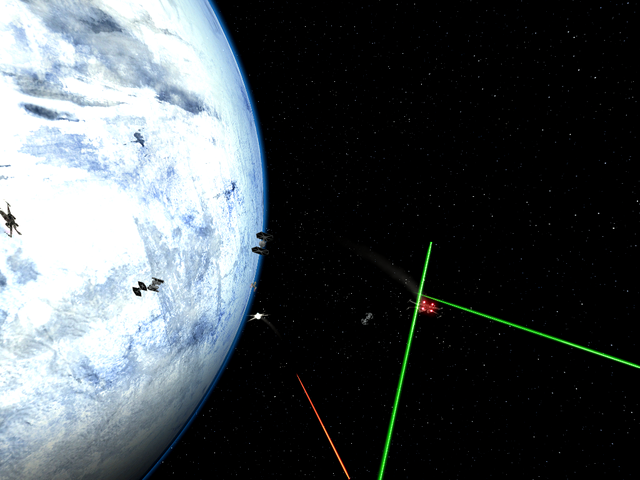
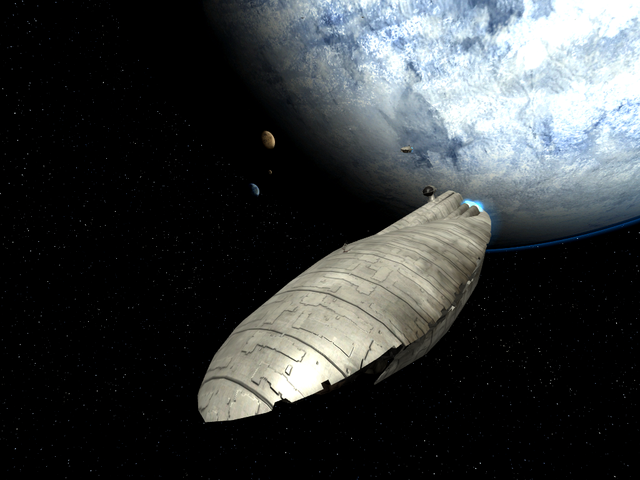
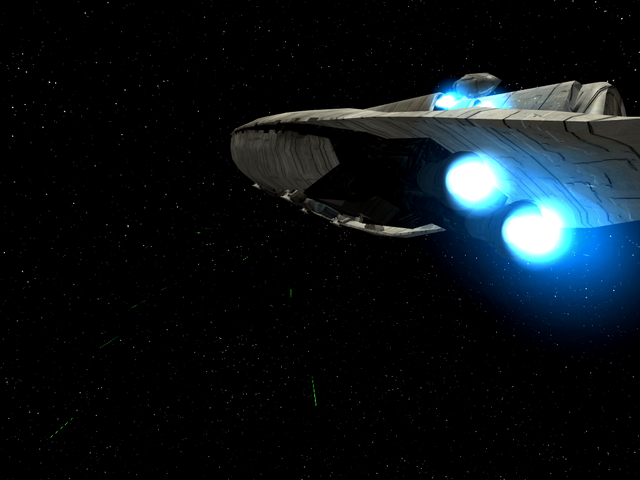
Meanwhile, three more transports are leaving Hoth, two of them in a group. Stray laser bolts from the dogfight ahead fly ominously past the fleeing ships.
http://i147.photobucket.com/albums/r292/safe-keeper/AAR_Escape%20From%20Hoth/AAR01.png
http://i147.photobucket.com/albums/r292/safe-keeper/AAR_Escape%20From%20Hoth/AAR18.png

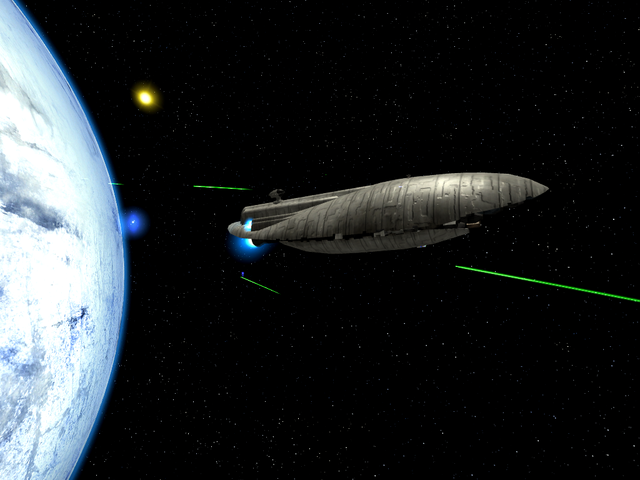
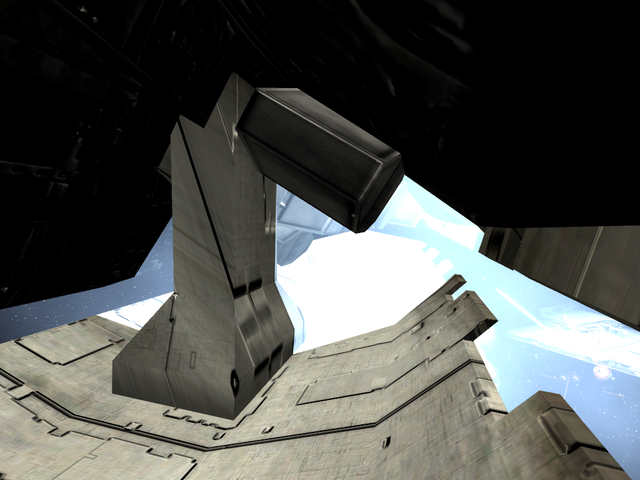
As the two ships approach the fight ahead, the second transport in the group experiences engine problems. The decision is made for her to abort her escape run and instead turn 90 degrees to starboard to form on another transport entering the combat area a few clicks off her starboard side. A very short time later, the green laser bolts are no longer stray shots - the lead transport is under TIE attack. Blue space bombs mix with the emerald lasers as the Bombers make their first attack runs. Soon the site of the dogfight has shifted from the Star Destroyer to the fleeing cargo vessel. Her sister ship is ignored as she makes for her new rendezvous point.
http://i147.photobucket.com/albums/r292/safe-keeper/AAR_Escape%20From%20Hoth/AAR19.png
http://i147.photobucket.com/albums/r292/safe-keeper/AAR_Escape%20From%20Hoth/AAR20.png
http://i147.photobucket.com/albums/r292/safe-keeper/AAR_Escape%20From%20Hoth/AAR21.png
http://i147.photobucket.com/albums/r292/safe-keeper/AAR_Escape%20From%20Hoth/AAR22.png
http://i147.photobucket.com/albums/r292/safe-keeper/AAR_Escape%20From%20Hoth/AAR23.png

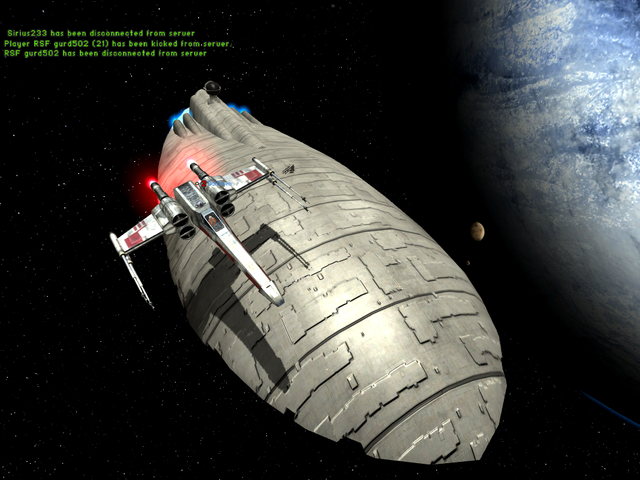
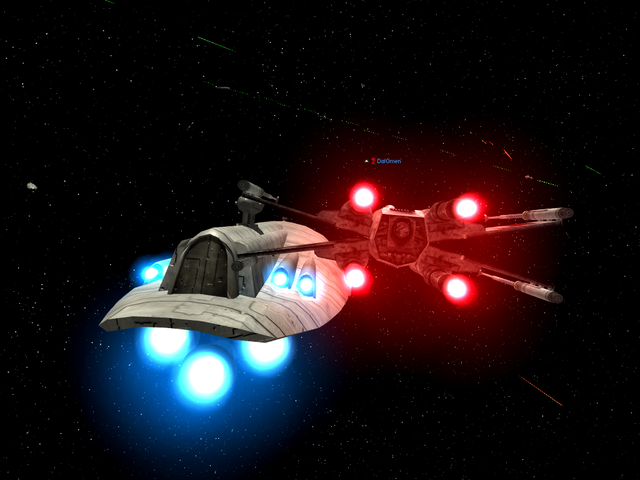
The third transport arrives on the scene with an X-Wing escort. Her crew is within visual range of the shootout, which looks intense even from this distance.
http://i147.photobucket.com/albums/r292/safe-keeper/AAR_Escape%20From%20Hoth/AAR24.png
http://i147.photobucket.com/albums/r292/safe-keeper/AAR_Escape%20From%20Hoth/AAR25.png

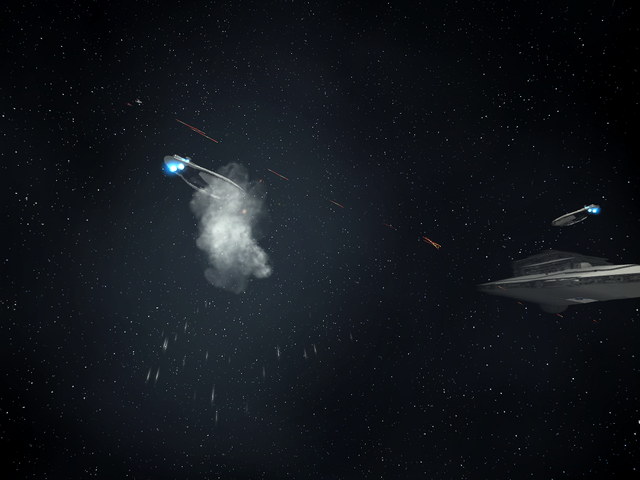
The first transport to face the TIEs succumbs in a fiery explosion, and soon the space bombs are exploding like flak around the remaining two ships, which close in on each others, and their jump point, at flank speed.
http://i147.photobucket.com/albums/r292/safe-keeper/AAR_Escape%20From%20Hoth/AAR26.png
http://i147.photobucket.com/albums/r292/safe-keeper/AAR_Escape%20From%20Hoth/AAR27.png
http://i147.photobucket.com/albums/r292/safe-keeper/AAR_Escape%20From%20Hoth/AAR28.png

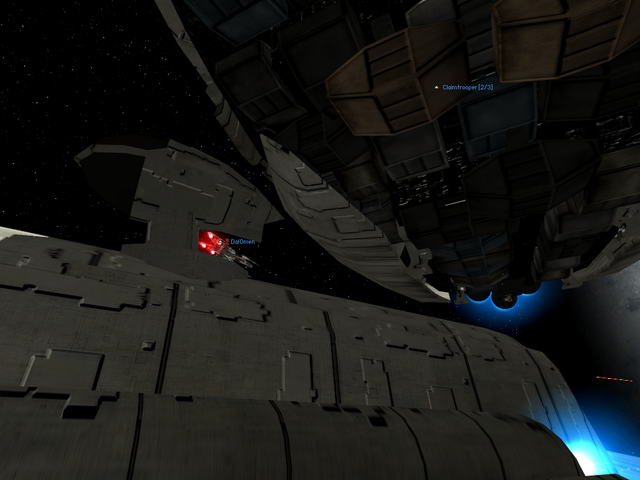
At long last, the freighters meet up. The combined firepower of the two ships, as well as the help of the Rebel starfighters, may just be enough to get them both through.
http://i147.photobucket.com/albums/r292/safe-keeper/AAR_Escape%20From%20Hoth/AAR29.png

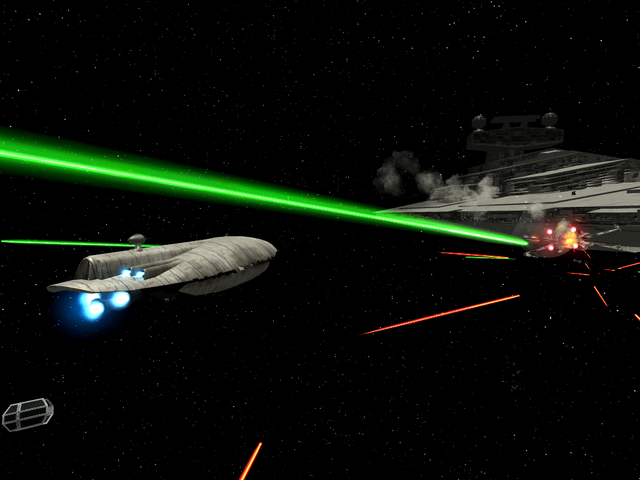
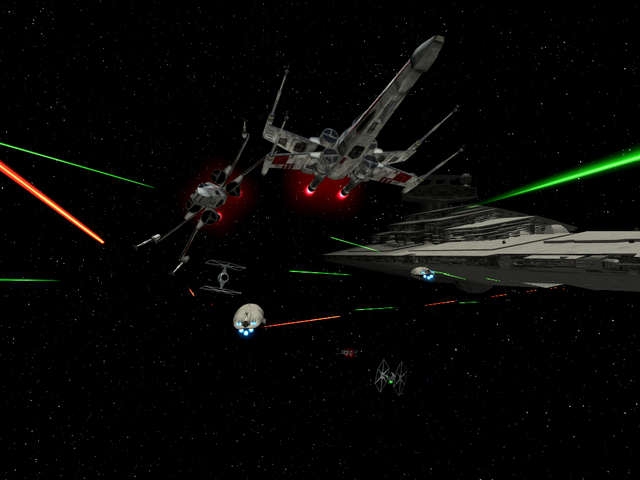
Soon the lights and sounds of battle rage again, as the transports approach the Star Destroyer and their hyperspace point.
http://i147.photobucket.com/albums/r292/safe-keeper/AAR_Escape%20From%20Hoth/AAR30.png
http://i147.photobucket.com/albums/r292/safe-keeper/AAR_Escape%20From%20Hoth/AAR31.png
http://i147.photobucket.com/albums/r292/safe-keeper/AAR_Escape%20From%20Hoth/AAR32.png

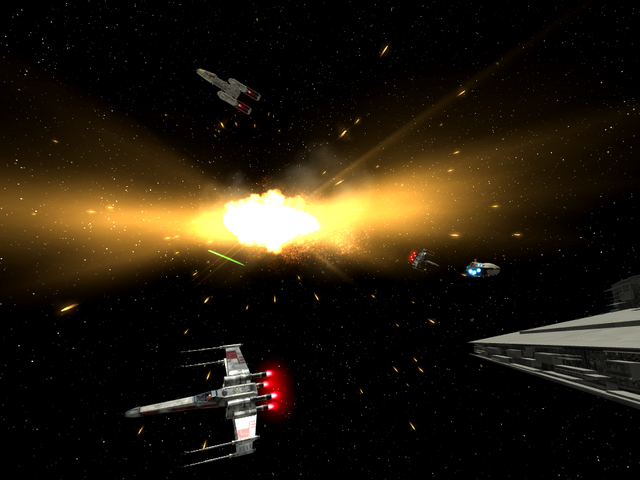
The Rebels fight valiantly, but then a TIE Bomber scores a lucky hit, and the transport is ripped apart by a fireball.
http://i147.photobucket.com/albums/r292/safe-keeper/AAR_Escape%20From%20Hoth/AAR33.png
http://i147.photobucket.com/albums/r292/safe-keeper/AAR_Escape%20From%20Hoth/AAR03.png
http://i147.photobucket.com/albums/r292/safe-keeper/AAR_Escape%20From%20Hoth/AAR34.png

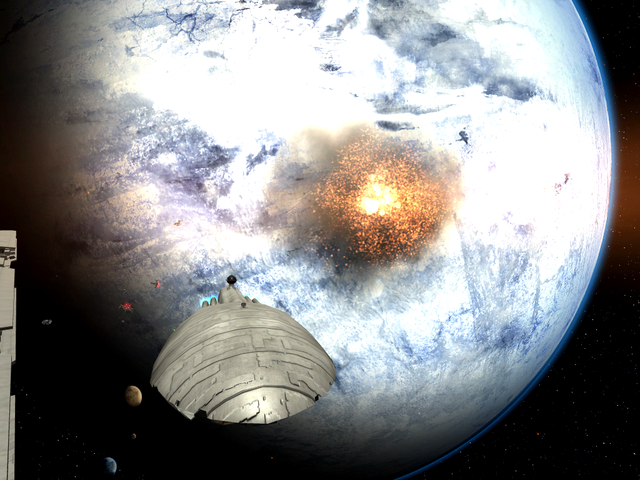
As the blast dies out, however, the surviving transport makes for her hyperspace point. The Imps, having concentrated their fire on her sister ship, fail to stop her from making the jump to safety.
http://i147.photobucket.com/albums/r292/safe-keeper/AAR_Escape%20From%20Hoth/AAR35.png
http://i147.photobucket.com/albums/r292/safe-keeper/AAR_Escape%20From%20Hoth/AAR36.png

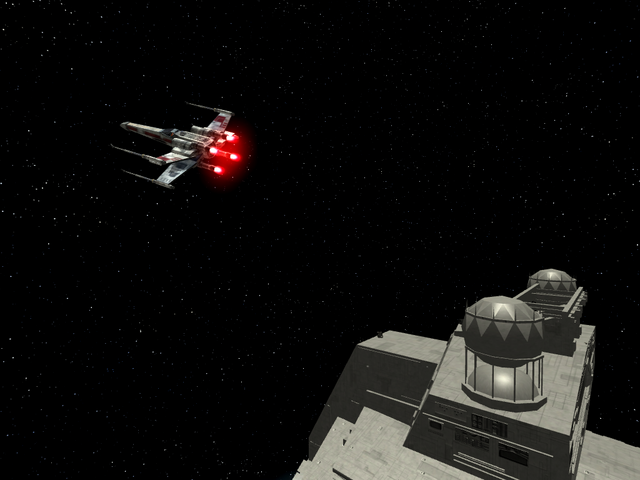
One more transport has yet to escape - she, too, eventually faces destruction when she is downed by the Tyrant's remaining gun batteries. With no more transports coming from the surface of Hoth, the surviving snubfighter pilots cut their losses and run.
http://i147.photobucket.com/albums/r292/safe-keeper/AAR_Escape%20From%20Hoth/AAR37.png

-------------------
*Archive image is an older screenshot, not from the March 1st CG.

"One of the bitches actually gave birth while she was attacking, and her puppies joined in on the carnage."
--the awesomeness that is Boatmurdered.

2 (edited by Safe-Keeper 2009-03-03 15:31:42)

Re: After-Action Report: Escape from Hoth (56k = frustration)

Oh, and IE6 apparently messes up the image quality. Get Firefox, people.

Edit: Gwyn says it suddenly works for him, so maybe all you have to do is reload (F5).

"One of the bitches actually gave birth while she was attacking, and her puppies joined in on the carnage."
--the awesomeness that is Boatmurdered.

Re: After-Action Report: Escape from Hoth (56k = frustration)

That was fantastic. Good work safe. I hope my new computer makes the game look that good smile

http://g5hd7a.bay.livefilestore.com/y1pYKw7Yp4ui_IKxw2wYbMr5xQ7XHAnuSmXBQcR3smbF6G-gHNuMLfh0QmoLRTc58VGEnJ1FheOT0YzDoDBF0603XYCVboCkrCX/rsf%20sig.png
''Its over. Angel won.''   RSF Gurd

4 (edited by Safe-Keeper 2009-03-03 16:19:38)

Re: After-Action Report: Escape from Hoth (56k = frustration)

For those interested, here are all the screenshots I took of the round (160+), in their original size: Download (62.6 MB, .rar format)

I'll add a couple I didn't use, and perhaps even a couple I did use, but which deserve to be shown off at full size, to the AAR/Screenshots thread.

"One of the bitches actually gave birth while she was attacking, and her puppies joined in on the carnage."
--the awesomeness that is Boatmurdered.

Re: After-Action Report: Escape from Hoth (56k = frustration)

Perhaps unrelated... when you're flying the transports and "fire" - what is the "Reerrrr" sound?  Am I shooting anything?..  there's a sight like I'm shooting a turret/gun, a noise when I push fire, but no beam... no distruction... no nuthin' except "Reeerrrr" as far as I can tell.

Anyone?

Visit www.86you.net for BF2142, FirstStrike and COD4 & 5 clan information.
http://stats.fsmod.com/fssig.php?player=C3-DaddyO
http://sigs.2142-stats.com/C3-DaddyO_player_10203.jpg

Re: After-Action Report: Escape from Hoth (56k = frustration)

Its the sheilds.  t stops/reduces damage for a couple of seconds.  Left click sheilds the top of the galo, right click sheilds the bottom.

BlackIntel Game Leader
DUKE815: Teamwork's complicated.  I've found that ramming a Lambda with a Y-wing at full boost is most effective.

7 (edited by Safe-Keeper 2009-03-04 17:05:13)

Re: After-Action Report: Escape from Hoth (56k = frustration)

Yup, it's deflection screens/shields which protect your ship from damage. Ammo indicators, which I believe start at 30 each, indicate how many seconds of shield power you have left at any given time. Shields completely deflect damage from weapon hits and collisions (except perhaps high-speed ramming situations, haven't tried), but cannot be recharged, so use them wisely! Sometimes, if you've got one side with lots of shield power and one side with depleted shields, it's also an idea to rotate your craft so that you expose the side that's still protected. Once I was flying a Gallofree and ran out of shield power to the upper (dorsal) part of the hull, but I survived by turning the ship upside down and flying really low over the Star Destroyer's surface so the TIEs could only hit the bottom of the ship, which still had plenty of shield power cool .

"One of the bitches actually gave birth while she was attacking, and her puppies joined in on the carnage."
--the awesomeness that is Boatmurdered.